背景
自 2021 年 6 月 22 日起,我们不再支持在 Mac OS X 上构建新版 Android 平台。不过,旧版 Android 仍可在 Mac 上构建。
所以目前在 Mac 上通常使用支持创建和使用 Linux® 容器的应用进行相应环境搭建,如 Docker 创建 Ubuntu 环境后同步 AOSP 源码进行构建。本文使用了 OrbStack
OrbStack is a fast, light, and simple way to run containers and Linux machines on macOS. It’s a supercharged alternative to Docker Desktop and WSL, all in one easy-to-use app.
环境搭建和产物构建
创建 Ubuntu
查看 OrbStack 官方文档以及考虑到 arm 架构的 Ubuntu 编译可能存在未知问题,所以还是选择创建了 amd64 的 Ubuntu 环境
On Apple Silicon, OrbStack uses Rosetta to run Linux machines with Intel (x86_64/amd64) binaries. This is much faster than emulation with QEMU or UTM, seamlessly providing near-native performance.
1 | $ orb create --arch amd64 ubuntu new-ubuntu |
1 | $ uname -a |
安装相关依赖
做了如下变动
git-core->gitlibncurses5->libncurses5-dev- 增加了
rsync,在后续编译过程中会需要
1 | $ sudo apt-get install git gnupg flex bison build-essential zip curl zlib1g-dev libc6-dev-i386 libncurses5-dev x11proto-core-dev libx11-dev lib32z1-dev libgl1-mesa-dev libxml2-utils xsltproc unzip fontconfig rsync |
同步源码
1 | $ mkdir ~/bin |
我使用清华镜像源进行了代码同步,指定了 android-14.0.0_r29 tag
1 | $ repo init -u https://mirrors.tuna.tsinghua.edu.cn/git/AOSP/platform/manifest -b android-14.0.0_r29 |
同步过程中遇到了如下错误
1 | error: Entry 'docs/release-process.md' not uptodate. Cannot merge. |
则需要执行
1 | $ cd .repo/repo |
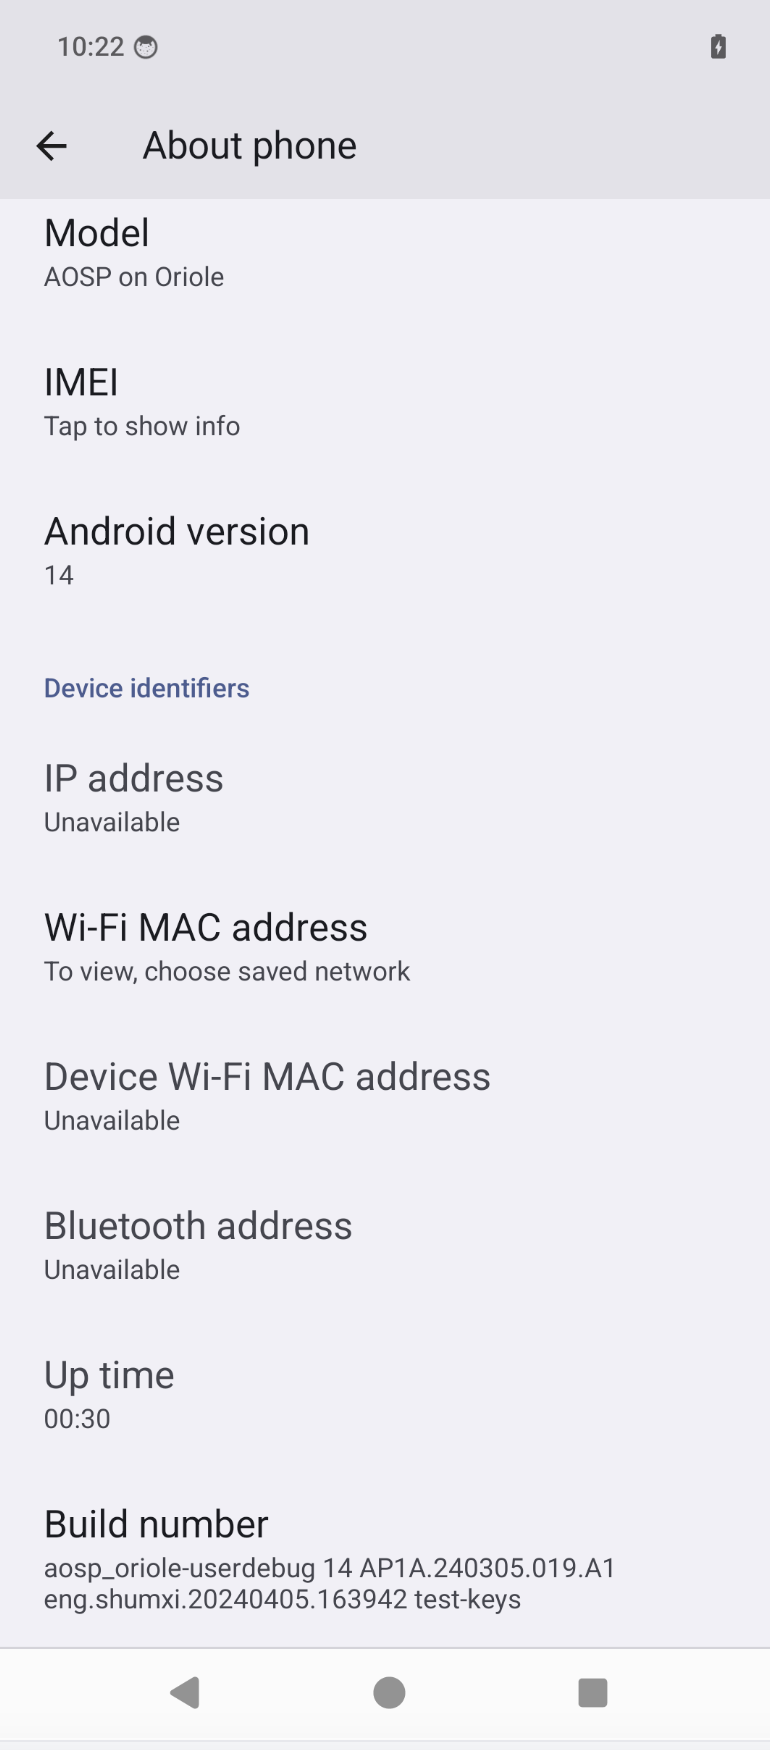
如果编译用于真机的固件则需要下载对应官方提供的驱动程序二进制文件。比如我手上有个 Pixel 6 设备,则需要下载对应的文件用于后续的编译。在前面指定的 tag 标签的时候,官方对应 tag 有相应的 build id。如 android-14.0.0_r29 对应的是 AP1A.240305.019.A1
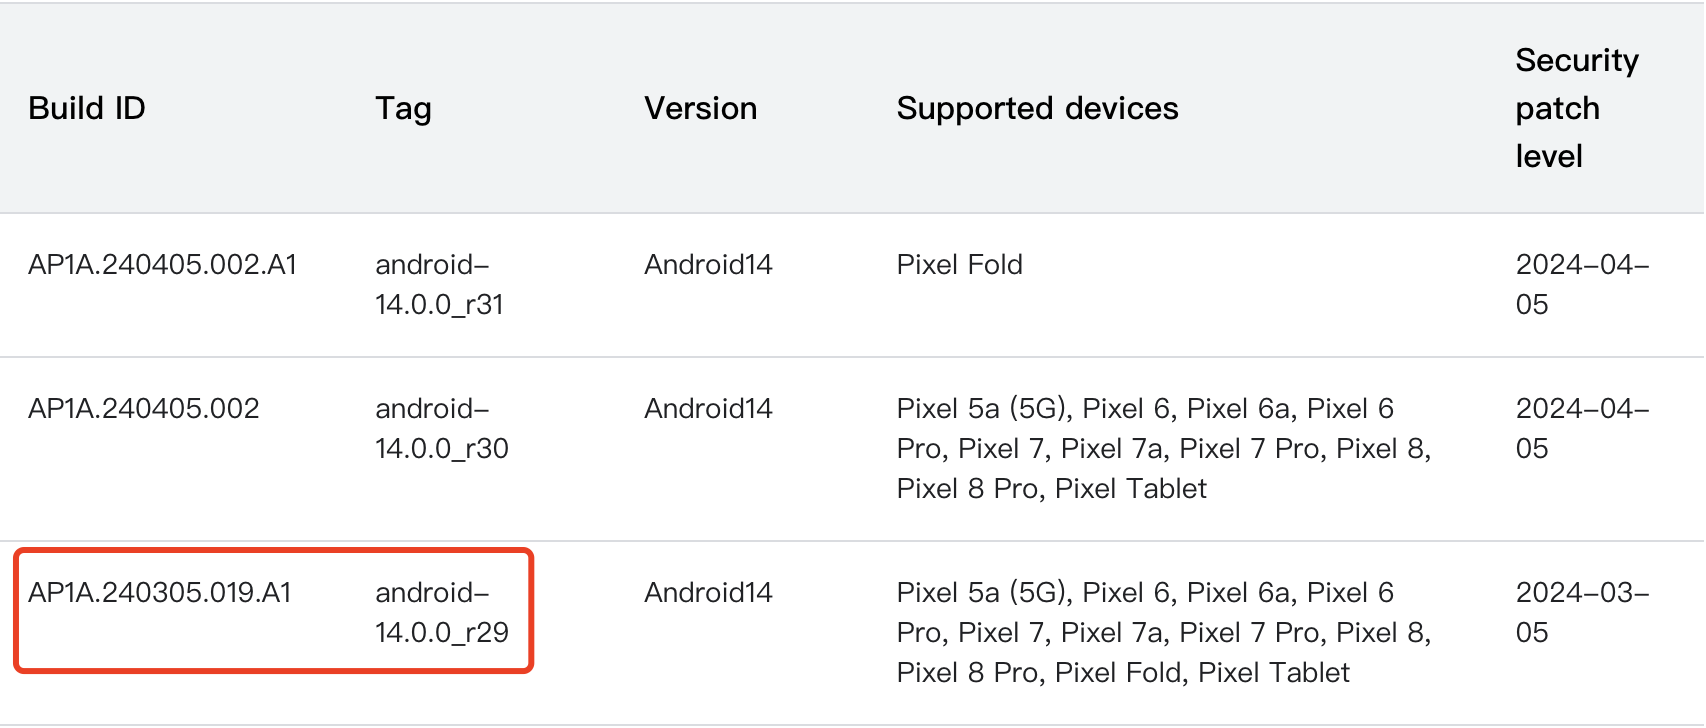
![]()
二进制文件压缩包下载下来后需要解压并执行释放相关内容
1 | $ tar -xf google_devices-oriole-ap1a.240305.019.a1-8e8e1205.tgz |
编译
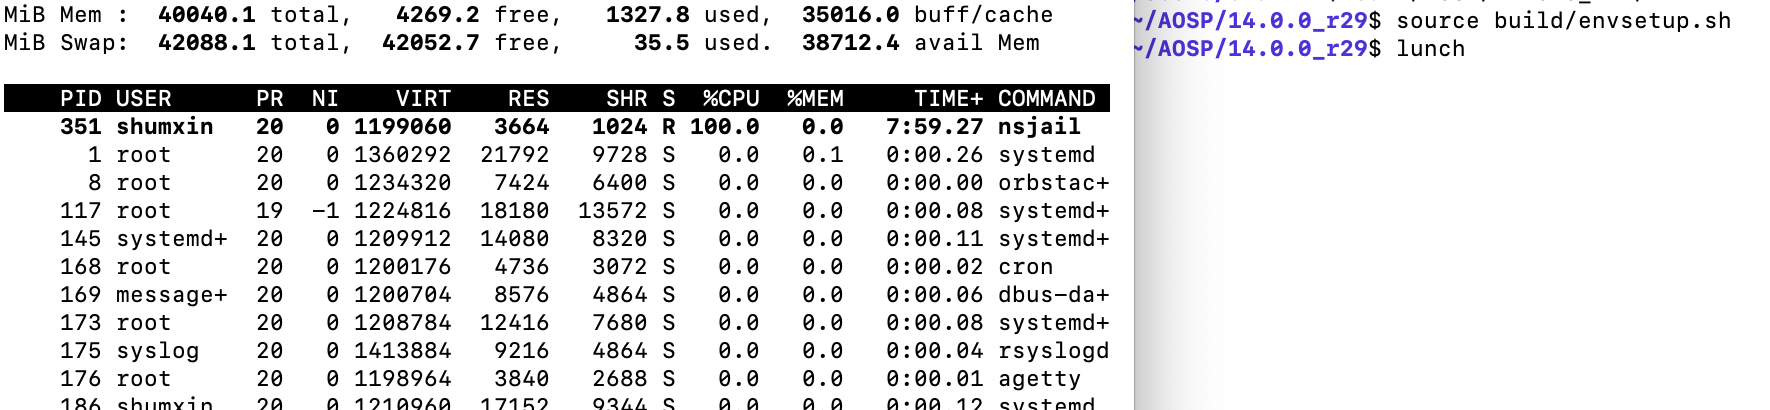
1 | $ source build/envsetup.sh |
执行 lunch 命令后会卡住,通过 top 命令查看 nsjail 进程 100% CPU
给 OrbStack 提了 issue 后很久没回复就谷歌了一番,看到有博主提供了最简单的重命名方案可解决问题。
1 | $ mv prebuilts/build-tools/linux-x86/bin/nsjail prebuilts/build-tools/linux-x86/bin/nsjail.old |
再次执行 lunch 后输入 aosp_oriole-trunk_staging-userdebug
1 | $ lunch |
输入 aosp_oriole-trunk_staging-userdebug 是源于 device/google/raviole/AndroidProducts.mk 中有相关配置。未深究该问题,按 Available releases are: ap1a. 提示替换 aosp_oriole-ap1a-userdebug
1 | Build sandboxing disabled due to nsjail error. |
编译过程中会遇到
1 | ERROR: Dex2oat failed to compile a boot image.It is likely that the boot classpath is inconsistent.Rebuild with ART_BOOT_IMAGE_EXTRA_ARGS="--runtime-arg -verbose:verifier" to see verification errors. |
通过 WITH_DEXPREOPT=false 关闭 dex2oat
1 | # 生成镜像文件 |
刷机
对应生成产物在 out/target/product/oriole/ 目录下
- 通过
orb pull将产物拉到宿主机器环境下
1 | $ orb pull /home/shumxin/AOSP/14.0.0_r29/out/target/product/oriole/boot.img |
- 刷写镜像
1 | $ adb reboot booloader |
- 在
fastboot模式下选择进入recovery模式 - 选择
Wipe data/factory reset清除数据 - 清除完成后选择
Apply update from ADB
1 | $ adb sideload aosp_oriole-ota.zip |